Paper Smooches and Moxie Fab

I never throw anything out, that could be potentially useful...... Probably years ago I got some flowers bouquets wrapped in sheer fabric - one yellow, one orange and I kept that for future use - today is the day! And I do take recycling seriously!


I cut the fabric in triangular strips and layered the strips overlapping onto the card stock. Before that I stamped my sentiment both from the Paper Smooches - Sentiment sampler set. 


I tied a bow around it, underlayed the white center panel with orange strips of paper and mounted the whole thing on a white card with foam spacers. Some enamel dots finish it off!


A close-up picture and below the inspiration photo from the Paper Smooches Sheer and clear challenge:


And the Moxie Fab Birthday card challenge is still ongoing and I will link this card up with it as well.

--X--

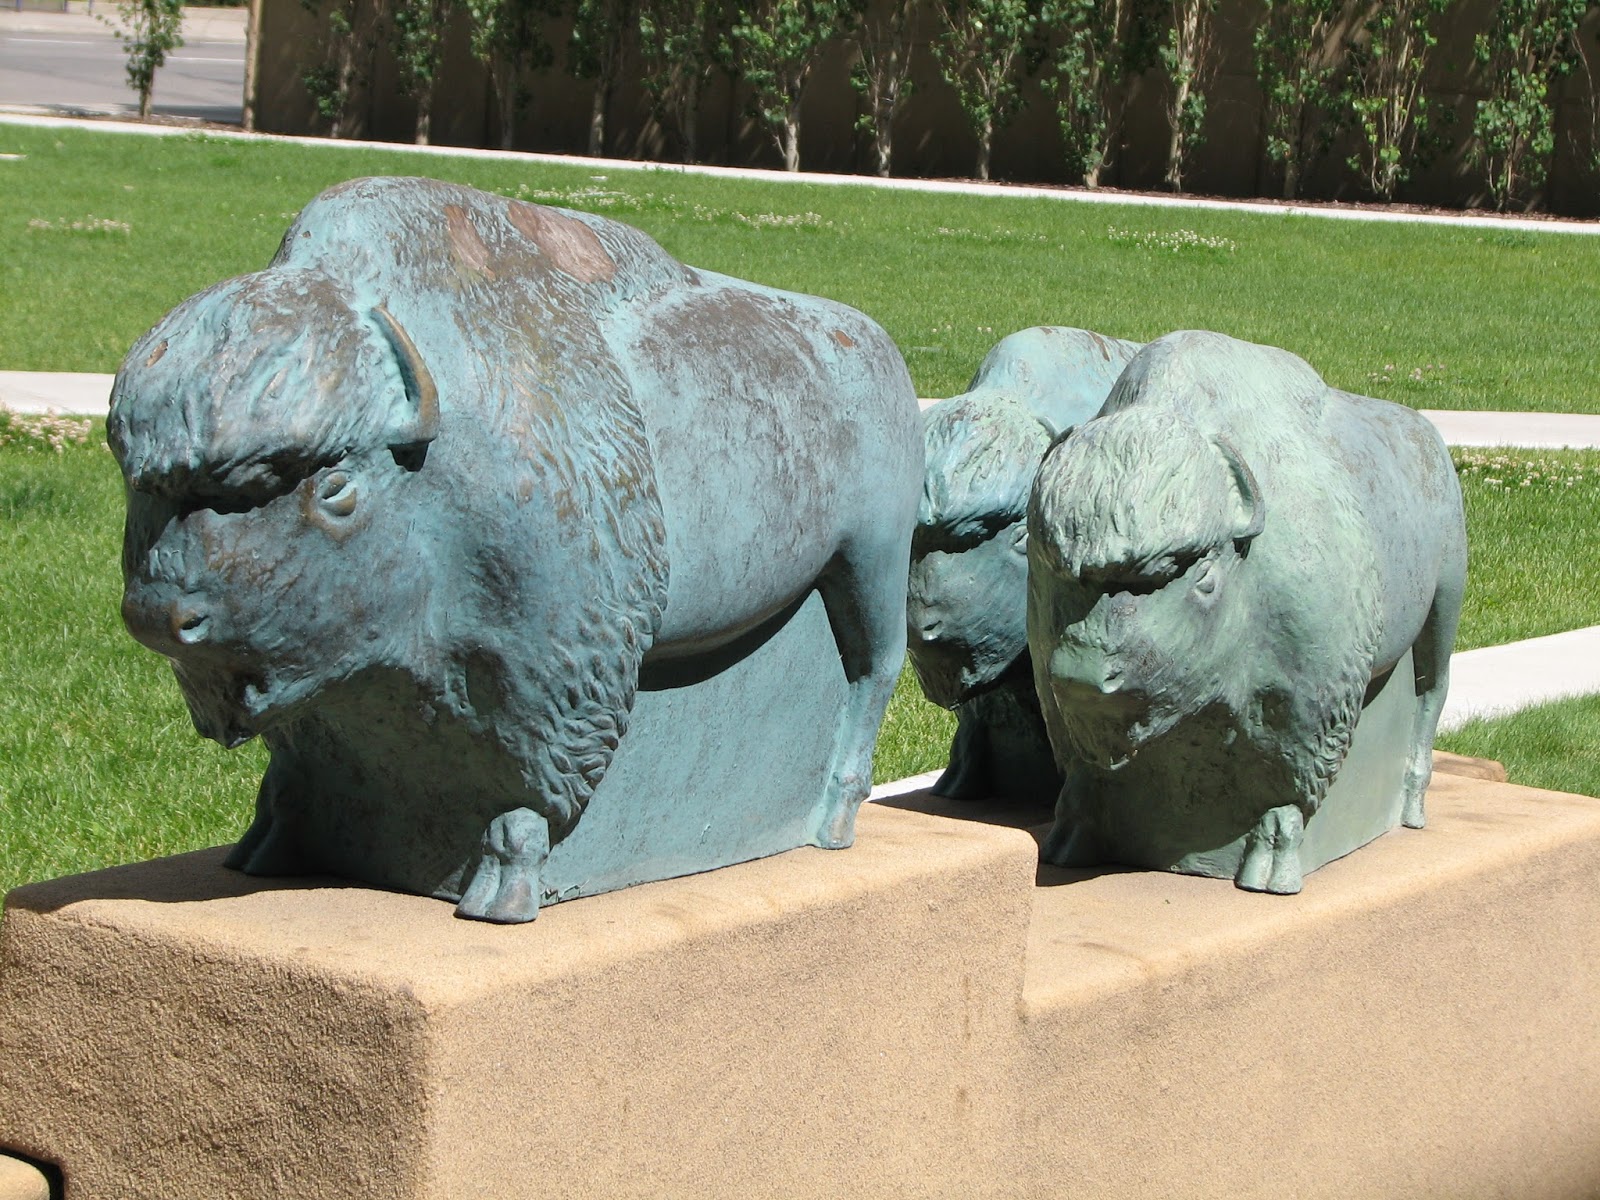
And now as promised, some more Calgary pics - this time modern art in this wonderful city:


The mesh head and the running horses are my favorites - just amazing! I hope you love it as much as I do! I wish you all a wonderful weekend and thank you for your plentiful, nice and encouraging comments - I love them all!


Comments

Hey Cornelia!
Da bin ich ja froh, daß auch Andere alles potentiell Brauchbare aufbewahren müssen... ;-) Deine Karte ist wieder der Hammer!!
Ich war viel zu lange nicht hier zum Gucken - Dein Blogdesign ist ja ganz neu und frisch! Gefällt mir sehr gut.
Und Deine Fotos sind auch grandios.
Hoffe, es geht Dir gut und schicke liebe Grüße über den großen Teich,
Mel
EvaE. said…
Wow, die Fotos sind echt sensationell!!! Schön, dass Du sie hier zeigst! Dein Recycling-Kärtchen ist wieder ein absoluter Hingucker und begeistert mich seeeehr!
Herzliche Grüße schickt die Eva!
Sara Mac said…
What a cool card! Love the colors you chose. And those photographs ... wow! The running horses look amazing.
G Peplow said…
Hi Cornelia, Woah fab card, I love how you captured the sheer look of the girls jumper but in gorgeous colours :D Thanks for sharing the wonderful pics of Calgary, it's on my bucket list now :D x
Larissa Heskett said…
WOW!! Such a Neat Card!! I LOVE your take on the challenge!! =) THANKS SO MUCH for playing along with the Paper Smooches SPARKS Challenge and I hope you'll play along again next week!! Have a FABULOUS WEEK!! =)
P.S LOVE all those Beautiful Pictures too!!
SOOOO gorgeous! What a DARLING and fab color combo!!! Thanks so much for playing along with this weeks Paper Smooches SPARKS challenge!!!

housesbuiltofcards@gmail.com
www.housesbuiltofcards.blogspot.com
Flo said…
Hallo Cornelia,
die Fotos sind großartig und machen Lust,darauf, auch mal nach Calgary zu reisen - wenn es doch nicht so weit weg wäre!!!
Deine Karte ist der Hammer. Ich mag sie sehr.
Liebe Grüße, Flo
Kim Heggins said…
Fabulous photos...love them all! Your card is just so pretty and wonderful design too.
Pamela said…
I love the overlapping vellum!! Thanks for joining us at Paper Smooches Sparks!
Hey Cornelia! Thanks for linking this up to the Birthday Card Challenge in the Moxie Fab World! I'm so glad you joined in on all the fun! :)
I LOOOOOOOOOOOVE that you kept these pieces for several years! That's awesome! What a great use for them too-- love the colors for this card! BEAUTIFULLY done:) THANKS so much for joining in the fun with the Trend Watch-- hope you play along with us this week at the Paper Smooches Sparks challenge <3
Kanan Pandya said…
Lovely and very creative card, Cornelia. Love how you used those ribbons. Great pictures too. :-)

Popular posts from this blog

Easter Egg and Bunny

Hi Everyone, I made a bunch of Easter cards, after all its little more than one month and I need to send them out in time... You see, they are all similar - using both the die cut and the negative, that I cut from a die cut egg. The cute bunnies got their yearly appearance - they are from Impression Obsession. the egg is by Lifestyle Crafts. The sentiment is by Papertrey. And here are bigger photos from this set: Linking up with Creative with Stamps - Easter The Paper Players - die cutting Die Cut Divas - animals Happy Little Stampers - anything goes with dies

Dynamic Duos combined with CAS Colours and Sketches

I am getting the hang of combining challenges....not sure if that's good or bad... In the past I would just put all my "creative energy" into one challenge and then just link up with others, if the card just happened to fit...but now I do that on purpose. Well, I'll see how it goes....                           Anyhow here is the card that came out of this: I did not want to add a sentiment - I 'll add it later, when I know who will get it. And here is a close -up: Challenges: Dynamic Duos CAS Colours and Sketches Addicted to Stamps and More Amusing Challenges Materials: Papertrey Background Basics: Super Stripes, Memory Box Chloe Stem die. --X-- Card for Maddy: You may know already about  Maddy ,  who  was diagnosed with Acute Myeloid Leukemia and went through chemotherapy treatment followed by a stem cell transplant from her (then) fifteen year old sister Melanie.  She now has a relapse and this car

Mirror Image Stamping with So Suzy and the MISTI

Hi Everyone, I am so happy to be part of this wonderful event - the collaboration between So Suzy and the MISTI from My Sweet Petunia doing mirror image stamping.  This event is going on for the ENTIRE  MONTH! We are demonstrating the  Mirror Image Stamp    which coordinates with the Misti Stamping Tool! All month long, different bloggers will post a card using the  Mirror Image Stamp .  In my tutorial today, I will show you how use the  Mirror Image Stamp  on your cards. You can basically double your stamp supplies that way! The  mirror image stamp  is  a 4.25" x 5.5" piece of red rubber with no foam backing. So much larger than the other mirror image stamps out there and therefore much more useful! Mirror Image stamp ,  Two Cats in a Tree If you want a video tutorial on how to do this I can highly recommend you watch THIS VIDEO on youtube. Explains it all in very little time! Or you can see the same thing on my photo tutorial. With mirror