Time to celebrate!

I have several reasons to celebrate!

My daughter turned 21!

And I have 2 new members to welcome to my little blog

Amy V.
and

 I hope you continue to like what you find here. And today you can celebrate with me. I don't have a piece of artwork for you as I showed in the past, but I will share our most loved cake recipe with you - its at the end of this post.....something to look forward to...

--X--

After a couple of turbulent teenage years our daughter became a beautiful responsible young women,  who is finding her way in life. Recently she took a break from college and is doing an internship, which she absolutely loves.

That is her birthday card. We got her a GPS - she guessed it after she looked at her card. 


The labyrinth is downloaded from the Internet. All stamps are Papertrey as are the number dies. The arrow is Lifestyle crafts.

We celebrated her birthday with a lovely dinner and cake. Here is a recent picture of her -she was invited to a wedding, that's why she is so dressed up. 
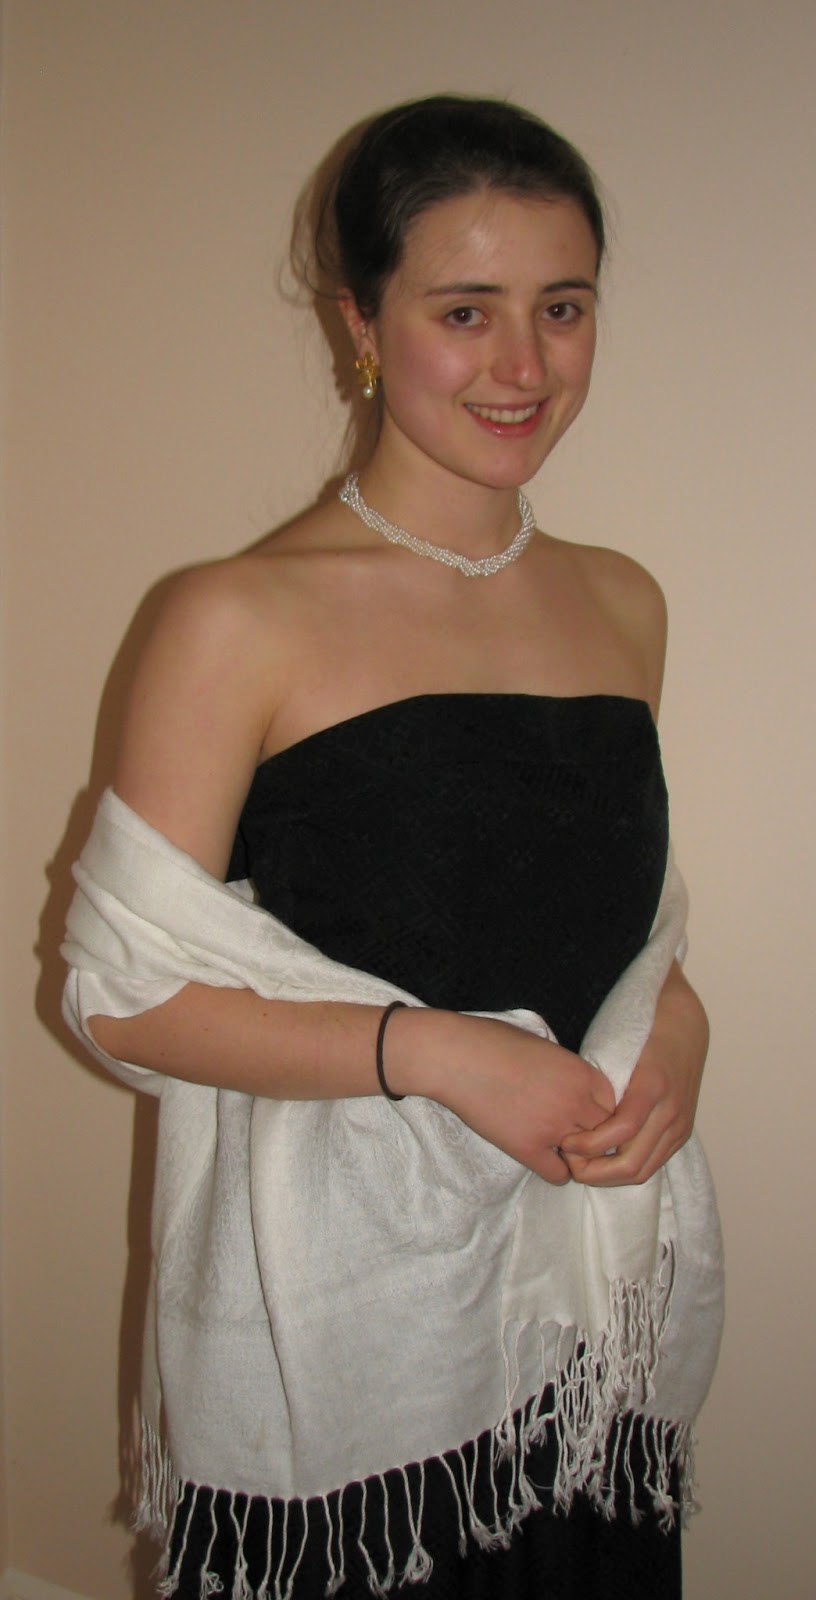


Here we are celebrating:


and here is the cake:


Malakoff Torte

Oil the ring of a 26cm Springform pan and put it on a cake plate.
3-4 packs Ladyfingers (150 gr each)
200g Butter
200 g sugar
200g ground almonds
5 egg yolks
About 1/16 very strong Espresso
2cc Cognac, Rum or whatever you have - Coffee Liquor is great too

1 cup heavy cream

Cream butter, sugar, egg yolks until very fluffy, then add ground almonds and espresso. All ingredients MUST have the same temperature!

Put one layer of Ladyfingers onto the cake plate within the spring form ring, layer butter cream on top, then ladyfingers, butter cream, continue…. I made 4 layers of ladyfingers as you can see. The last layer is ladyfingers. Put the spring form bottom on top of the last layer, weigh it down with something heavy and put it in the refrigerator for at least 2 days – 4 days is better. When ready to serve whip up the heavy cream and smear it around the cake – of course you have to remove the spring form ring beforhand….

ENJOY!
This cake gets better the longer it sits, so plan ahead!


Comments

Kim M said…
Great card and that cake looks simply divine!
Taheerah said…
Really clever card - love how you tailored it to the gift your daughter received! And what a beautiful lady she has turned into as well!
Kelly Griglione said…
Great concept for your card, perfect for 21! And what a beautiful daughter you have. Thanks for sharing : )
Kanan Pandya said…
Lovely card, Cornelia, Belated Happy Birthday to your daughter, she is very beautiful, All the very best to your daughter for a very bright future. Lovely pictures and thanks for the recipe of that yummy looking cake. :-)

Popular posts from this blog

Mirror Image Stamping with So Suzy and the MISTI

Hi Everyone, I am so happy to be part of this wonderful event - the collaboration between So Suzy and the MISTI from My Sweet Petunia doing mirror image stamping.  This event is going on for the ENTIRE  MONTH! We are demonstrating the  Mirror Image Stamp    which coordinates with the Misti Stamping Tool! All month long, different bloggers will post a card using the  Mirror Image Stamp .  In my tutorial today, I will show you how use the  Mirror Image Stamp  on your cards. You can basically double your stamp supplies that way! The  mirror image stamp  is  a 4.25" x 5.5" piece of red rubber with no foam backing. So much larger than the other mirror image stamps out there and therefore much more useful! Mirror Image stamp ,  Two Cats in a Tree If you want a video tutorial on how to do this I can highly recommend you watch THIS VIDEO on youtube. Explains it all in very little time! Or you can see the...

Easter Egg and Bunny

Hi Everyone, I made a bunch of Easter cards, after all its little more than one month and I need to send them out in time... You see, they are all similar - using both the die cut and the negative, that I cut from a die cut egg. The cute bunnies got their yearly appearance - they are from Impression Obsession. the egg is by Lifestyle Crafts. The sentiment is by Papertrey. And here are bigger photos from this set: Linking up with Creative with Stamps - Easter The Paper Players - die cutting Die Cut Divas - animals Happy Little Stampers - anything goes with dies

Combined So Suzy and The Ton Blog Hop

Hi Everyone, I am sooooo excited to be part of this amazing event - a combined hop between So Suzy Stamps and The Ton! I have been eyeing The Ton stamps and dies for quite a while - they are just gorgeous! And So Suzy - well you have seen their stamps on my blog - they are simply fabulous! I also love that they are made from rubber - its different stamping with them. Its much better for generational stamping and they don't stick to your paper when you use your Misti. You may have arrived from the fabulous  Eunji - its a hard act to follow her.... I got those gorgeous  Peonies Dies  from The Ton and die cut them with water color paper. Spritzed Dylusion inks on a sheet of plastic and dipped the dies into the colors. Mounted them onto black card stock. Added the So Suzy Birthday sentiment - heat embossed in white. Lastly I added a strip of envelope liner paper at the bottom. Here are my supplies: So Suzy Birthday sentiment ,  Peo...