
Topflight Stamps - Happy New Year

 Hi Everyone,

It's Topflight Stamps day! 

This week we focus on New Year cards. 
Lets just hope  2021 will be better than 2020....


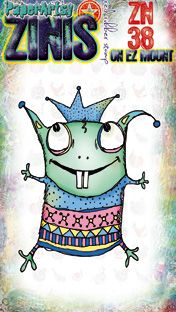
I started out with one page from the Dots to Diamonds Paper Pad for the background. I used Blender Brushes to create the ombre gradient. I stamped the little Zini on scrap paper twice and colored it with markers. I made it a bit taller than it is in real life. Fuzzy cut it. Stamped the sentiment on another piece of scrap paper and used it to cover up the  "defect" in my Zini. Added the gemstones.


I hope you liked this! See you next week with more Topflight Stamps inspiration.


Here are the stamp supplies I used:
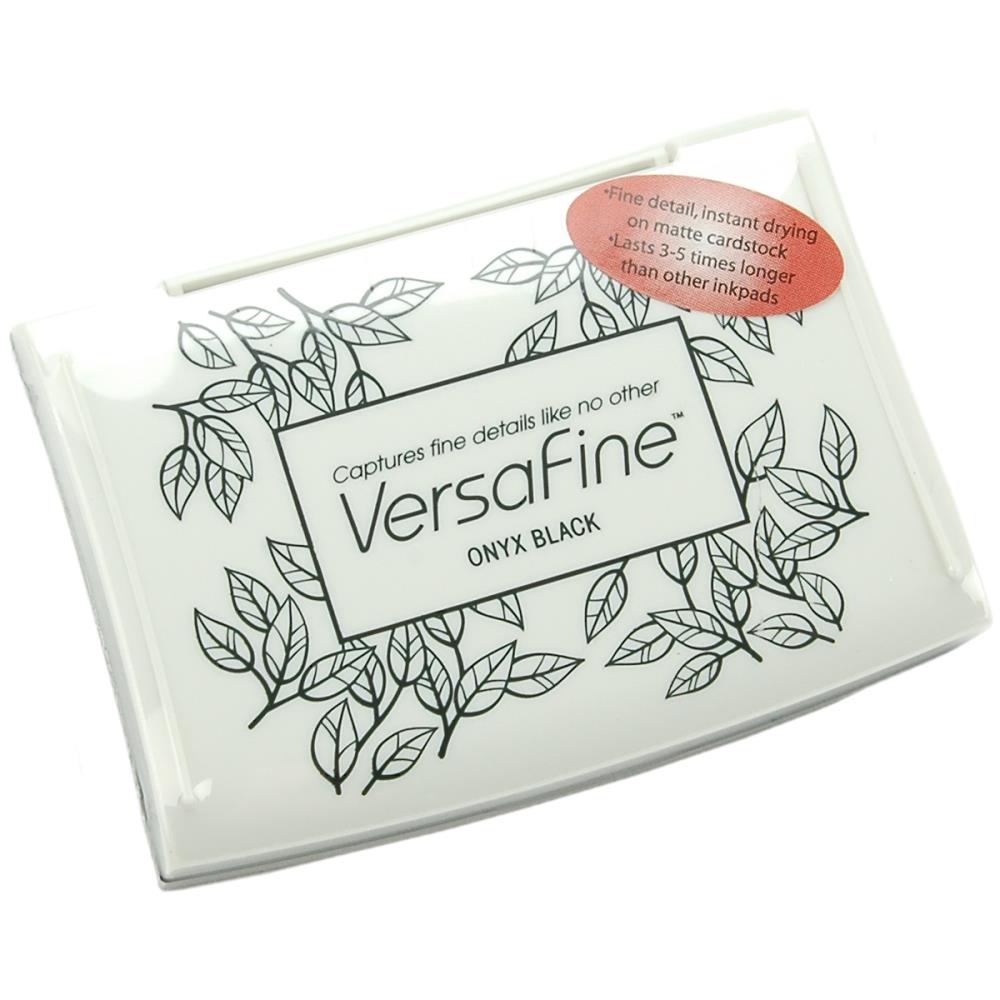
Use code FUNSTAMPING to get 12% discount at Topflight Stamps.


Versafine inkBlender Brushes


Linking up with:

613 Avenue Create - anything goes
Watercooler Wednesday - all about occasions 
OUR BLOG BADGE


Comments

Flo said…
Du hast aber auch immer wieder die verrücktesten Stempel im Gebrauch und machst immer was Tolles daraus.
Liebe Grüße
conil said…
You're so smart to have elongated Zini...he looks much more handsome than the original...rainbow coloring helps. Such a happy, cute card.
Tristan said…
What a fun and bright card Cornelia. Love that background and how you made your character taller. Thanks for joining us at the Watercooler Wednesday Challenge this week. Tristan DT.
Helen said…
Wonderful ink blending really works well with all the sparkles and this super fun image, Cornelia! What a great new year card! Thanks so much for joining in at Watercooler Wednesday Challenge this week! Take care! :)
Chana Malkah said…
Congratulations! You were selected as a Top Rocker at 613 Avenue Create for the week of November 22 - 28, 2020! Thanks so much for your wonderful response to our challenge. Please stop by our blog to grab your badge!

The 613 Avenue Create Design Team

Popular posts from this blog

Mirror Image Stamping with So Suzy and the MISTI

Hi Everyone, I am so happy to be part of this wonderful event - the collaboration between So Suzy and the MISTI from My Sweet Petunia doing mirror image stamping.  This event is going on for the ENTIRE  MONTH! We are demonstrating the  Mirror Image Stamp    which coordinates with the Misti Stamping Tool! All month long, different bloggers will post a card using the  Mirror Image Stamp .  In my tutorial today, I will show you how use the  Mirror Image Stamp  on your cards. You can basically double your stamp supplies that way! The  mirror image stamp  is  a 4.25" x 5.5" piece of red rubber with no foam backing. So much larger than the other mirror image stamps out there and therefore much more useful! Mirror Image stamp ,  Two Cats in a Tree If you want a video tutorial on how to do this I can highly recommend you watch THIS VIDEO on youtube. Explains it all in very little time! Or you can see the...

Easter Egg and Bunny

Hi Everyone, I made a bunch of Easter cards, after all its little more than one month and I need to send them out in time... You see, they are all similar - using both the die cut and the negative, that I cut from a die cut egg. The cute bunnies got their yearly appearance - they are from Impression Obsession. the egg is by Lifestyle Crafts. The sentiment is by Papertrey. And here are bigger photos from this set: Linking up with Creative with Stamps - Easter The Paper Players - die cutting Die Cut Divas - animals Happy Little Stampers - anything goes with dies

Combined So Suzy and The Ton Blog Hop

Hi Everyone, I am sooooo excited to be part of this amazing event - a combined hop between So Suzy Stamps and The Ton! I have been eyeing The Ton stamps and dies for quite a while - they are just gorgeous! And So Suzy - well you have seen their stamps on my blog - they are simply fabulous! I also love that they are made from rubber - its different stamping with them. Its much better for generational stamping and they don't stick to your paper when you use your Misti. You may have arrived from the fabulous  Eunji - its a hard act to follow her.... I got those gorgeous  Peonies Dies  from The Ton and die cut them with water color paper. Spritzed Dylusion inks on a sheet of plastic and dipped the dies into the colors. Mounted them onto black card stock. Added the So Suzy Birthday sentiment - heat embossed in white. Lastly I added a strip of envelope liner paper at the bottom. Here are my supplies: So Suzy Birthday sentiment ,  Peo...