
Quick One Layer Christmas Card


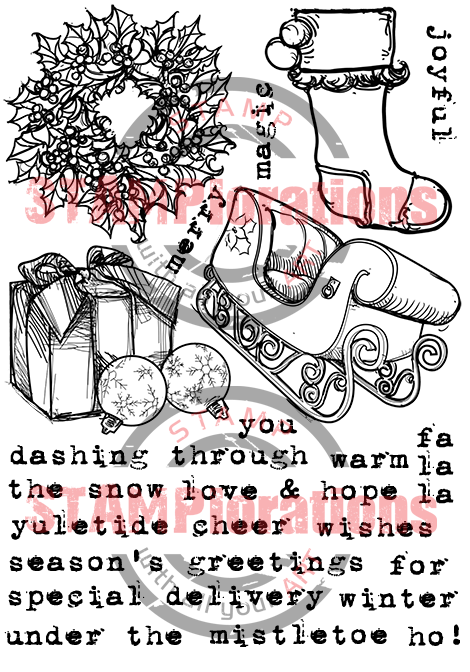
Hi, Cornelia here today, playing with Joyful

I made this simple and quick one layer card, that would be easy to mass-produce, if you have a lot of Christmas cards to make. And you know, Christmas is not too far off.....


So, lets get started!


I stamped the wreath from the Joyful set and sponged it, deliberately going outside the stamp.


Added the sentiment and colored the berries with red marker.


I then masked the sides and sponged again with a slightly lighter green' I then decided that the berries were not red enough and added red and gold Stickles to them. 


A small bow to finish it off. Here is a straight on view, but you can't see the Stickles that well.


You can also visit the STAMPlorations spotlight post  HERE
Happy Stamping!


Comments

Sarah G said…
This looks great, Cornelia! Love the detail on that wreath stamp and the fade out of ink looks fantastic - thanks for the idea :)
Susanne Vargas said…
Like that sponged banner and the Stickles are the perfect finishing touch!
Toni said…
Cool design. I love how your sponged and masked area fades away.
papierelle said…
Eine wirklich sehr sehr schöne Karte!!!
LG Gundi
Wunderschön und die Idee den Rand so zu begrenzen, toll.
GlG Elisabeth
Kim M said…
This is awesome! Love the design and what you did with the inked banner strip. Very cool idea. :-)
Monika Reeck said…
I love when you add the lime green color on your card always look amazing Cornelia this is also love the wreath and the green color...always adorable card your made..hugs, Monika

Popular posts from this blog

Katzelkraft - Stampotique Raven

Hi Everyone, Do you know that   Katzelkraft has aquired Stampotique stamps? This fun raven is designed by Daniel Torrente (#6314). I used an old background from my stashs.  I stamped the bird and colored it with alcohol ink markers.  I brushed distrss ink onto the background and added some pattern with the   Mandala Magic stencil  from Funky Fossil Designs.I used one of the border stamps on the left for more interest.  Stamped the sentiment  and doodled a frame around the sentiment.Added a googly eye to the bird and drew in some eye lashes.  The stamps I used are from the following sets: Spiral Borders - KTZ286,  Whatchamacallit  - KTZ276  (FRANCE) Spiral Borders  - KTZ286 , Whatchamacallit  - KTZ276 (USA) Hope you liked this - I'll be back next Wednesday with more Katzelkraft inspiration.  Thanks for visiting! Happy Stamping! Linking up with: Simon Says Wednesday challenge  - fur or feathers

So Suzy Stamps Snarky Blog Hop

Hi Everyone, Welcome to the So Suzy Stamps Snarky Blog Hop where funny and humorous Christmas cards take over! I am hopping along with Justine’s 12 Days of Christmas Series. If you haven’t checked it out yet, click here . Justine has been busy creating a dozen Christmas Card video tutorials to inspire you this holiday, and best of all there are prizes to be won every day. All you have to do to be eligible to win a $25 gift certificate is comment on each of the blogs! Good luck! We will pick two winners on November 9th! Here are my cards: For my first card I used a Tim Holtz embossing folder and embossed dark grey card stock. The cool deer I colored with Inktense pencils and fuzzy cut it. I stamped the Cool Yule sentiment onto aqua card stock and added white gel pen accents. Mounted everything onto a white card base. For my second card I used patterned paper as background. Added the die cuts (Santa and moose from Dixie Crafts, Winter Landscape die from Cut...

Combined So Suzy and The Ton Blog Hop

Hi Everyone, I am sooooo excited to be part of this amazing event - a combined hop between So Suzy Stamps and The Ton! I have been eyeing The Ton stamps and dies for quite a while - they are just gorgeous! And So Suzy - well you have seen their stamps on my blog - they are simply fabulous! I also love that they are made from rubber - its different stamping with them. Its much better for generational stamping and they don't stick to your paper when you use your Misti. You may have arrived from the fabulous  Eunji - its a hard act to follow her.... I got those gorgeous  Peonies Dies  from The Ton and die cut them with water color paper. Spritzed Dylusion inks on a sheet of plastic and dipped the dies into the colors. Mounted them onto black card stock. Added the So Suzy Birthday sentiment - heat embossed in white. Lastly I added a strip of envelope liner paper at the bottom. Here are my supplies: So Suzy Birthday sentiment ,  Peo...