
Funky Fossil Designs - New January Release Day 2

Hi Everyone,

The new January release coming into the shop on Friday at Funky Fossil Designs
Today is the second day of the stamp reveal.
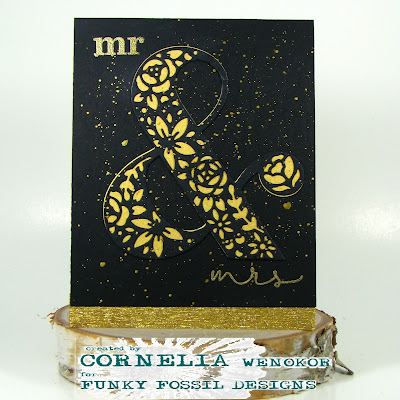
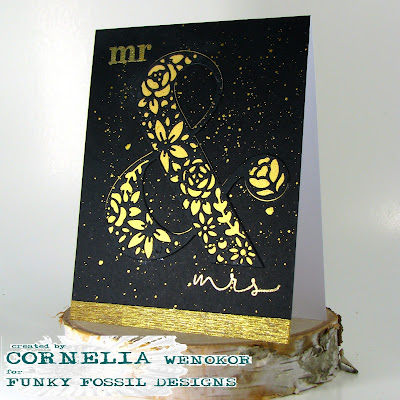
For this card I used the beautiful floral Ampersand and stamps from the new Love & set. I used gold shimmer paper as my background, heat embossed the Mr. and Mrs. in gold and added gold splatters. Trimmed the card and added gold tape at the bottom.

This new release not only included several new stamp sets, but there will also be new dies, Washi tape and a fantastic paper pad. You'll see it all on Friday, the release day. A lot to look forward to!
Don't forget to visit the DT blogs  for amazing inspiration from those talented girls!


Happy Stamping!

Linking up with:
Stamping Sensations - anything stamping with optional die


Comments

conil said…
WOW! This is so elegant and gorgeous. The ampersand makes such a statement, especially in gold.
Dotty Jo said…
Gorgeous card! Jo x
brenda said…
So striking in the yellow and black, many thanks for sharing with us at Stamping Sensations January challenge.

B x
Crafting Queen said…
Lovely colour combination. Thanks for joining Stamping Sensations. Anesha
Mrs.B said…
A lovely card, Black/Gold is a great combination.
Thanks for sharing with us at Stamping Sensations,
Avril x

Popular posts from this blog

Combined So Suzy and The Ton Blog Hop

Hi Everyone, I am sooooo excited to be part of this amazing event - a combined hop between So Suzy Stamps and The Ton! I have been eyeing The Ton stamps and dies for quite a while - they are just gorgeous! And So Suzy - well you have seen their stamps on my blog - they are simply fabulous! I also love that they are made from rubber - its different stamping with them. Its much better for generational stamping and they don't stick to your paper when you use your Misti. You may have arrived from the fabulous  Eunji - its a hard act to follow her.... I got those gorgeous  Peonies Dies  from The Ton and die cut them with water color paper. Spritzed Dylusion inks on a sheet of plastic and dipped the dies into the colors. Mounted them onto black card stock. Added the So Suzy Birthday sentiment - heat embossed in white. Lastly I added a strip of envelope liner paper at the bottom. Here are my supplies: So Suzy Birthday sentiment ,  Peo...

Katzelkraft - Stampotique Raven

Hi Everyone, Do you know that   Katzelkraft has aquired Stampotique stamps? This fun raven is designed by Daniel Torrente (#6314). I used an old background from my stashs.  I stamped the bird and colored it with alcohol ink markers.  I brushed distrss ink onto the background and added some pattern with the   Mandala Magic stencil  from Funky Fossil Designs.I used one of the border stamps on the left for more interest.  Stamped the sentiment  and doodled a frame around the sentiment.Added a googly eye to the bird and drew in some eye lashes.  The stamps I used are from the following sets: Spiral Borders - KTZ286,  Whatchamacallit  - KTZ276  (FRANCE) Spiral Borders  - KTZ286 , Whatchamacallit  - KTZ276 (USA) Hope you liked this - I'll be back next Wednesday with more Katzelkraft inspiration.  Thanks for visiting! Happy Stamping! Linking up with: Simon Says Wednesday challenge  - fur or feathers

Mirror Image Stamping with So Suzy and the MISTI

Hi Everyone, I am so happy to be part of this wonderful event - the collaboration between So Suzy and the MISTI from My Sweet Petunia doing mirror image stamping.  This event is going on for the ENTIRE  MONTH! We are demonstrating the  Mirror Image Stamp    which coordinates with the Misti Stamping Tool! All month long, different bloggers will post a card using the  Mirror Image Stamp .  In my tutorial today, I will show you how use the  Mirror Image Stamp  on your cards. You can basically double your stamp supplies that way! The  mirror image stamp  is  a 4.25" x 5.5" piece of red rubber with no foam backing. So much larger than the other mirror image stamps out there and therefore much more useful! Mirror Image stamp ,  Two Cats in a Tree If you want a video tutorial on how to do this I can highly recommend you watch THIS VIDEO on youtube. Explains it all in very little time! Or you can see the...