Topflight Stamps - Say Thank You with Zinis

Hi Everyone,

It's Topflight Stamps day!
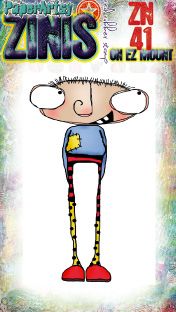
I am in love with the  Elena Zinski stamps. Especially the Zinis! They are the cutest!


I made my background with watercolor paper and dylusion sprays. Since the spray is so concentrated I also sprayed with water and got at least two backgrounds out of one panel (I made a buch of them...). I stamped the  little Zini and treated it with bleach - it becomes bright white and you can then color it any way you want. You may want to test it first - It does not bleach all inks.... I colored it then with markers and Inktese. Added a strip of patterned paper and the gold thanks die cut.


I hope you liked this! See you next week with more Topflight Stamps inspiration.

Here are the stamp supplies I used:
Use code FUNSTAMPING to get 12% discount at Topflight Stamps.

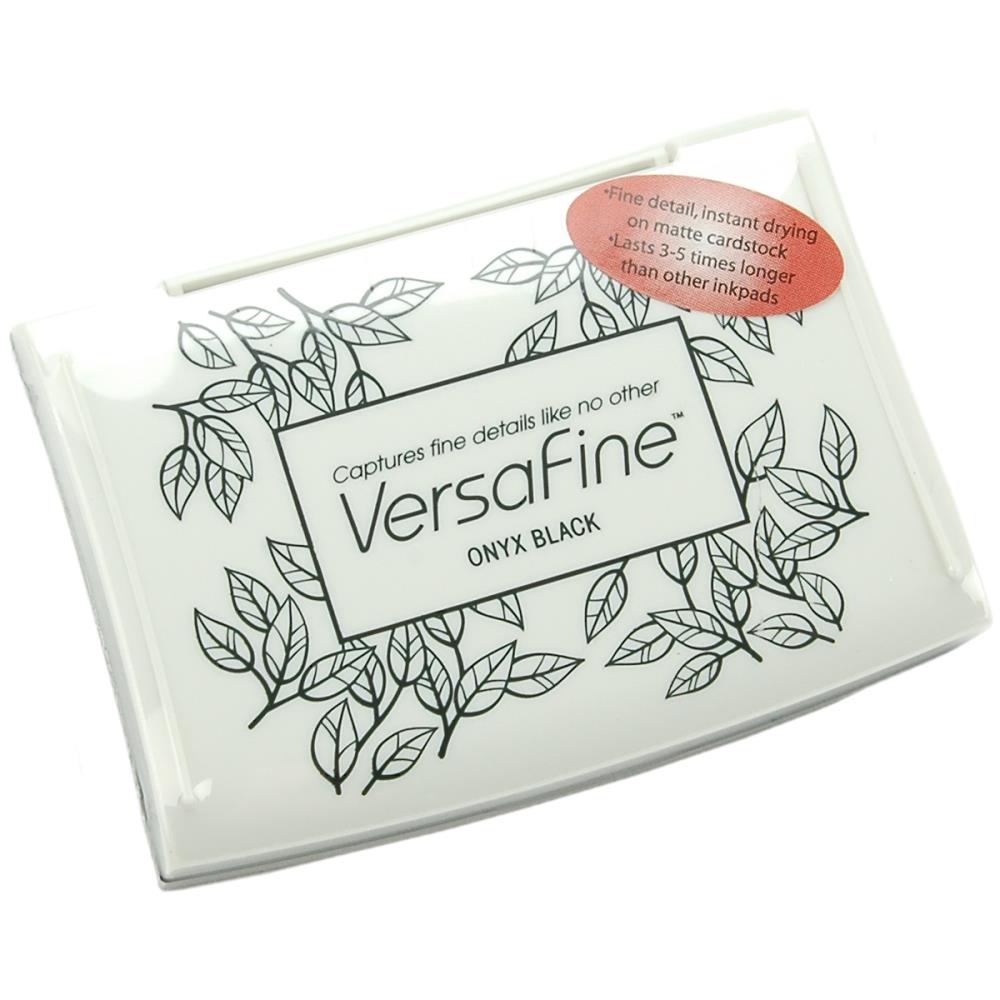
Hunkydory Prism brush markerVersafine ink

Linking up with:

Happy Little Stampers - anything goes with dies

Comments

Fun design and I love the bright colors.
conil said…
Love that goofy Zini...think I went to high school with him. Anyway he really pops on that sprayed background. Thanks for the clever bleach trick.
Flo said…
Der Hintergrund ist genial!!! Fast wie ein Inferno.
LG Flo
Anita in France said…
Tee hee ... he is a cutie, Cornelia ... and wonderfully quirky ... great with that bold background! Hugs, Anita :)
Helen said…
What a fun card to bring on a smile, Cornelia! Love the great effect you achieved with this fun technique! Your tall think letters are perfectly matched to the great image!!! Thanks so much for joining us at HLS Anything Goes with Dies Challenge this month! Take care! :)

Popular posts from this blog

Easter Egg and Bunny

Hi Everyone, I made a bunch of Easter cards, after all its little more than one month and I need to send them out in time... You see, they are all similar - using both the die cut and the negative, that I cut from a die cut egg. The cute bunnies got their yearly appearance - they are from Impression Obsession. the egg is by Lifestyle Crafts. The sentiment is by Papertrey. And here are bigger photos from this set: Linking up with Creative with Stamps - Easter The Paper Players - die cutting Die Cut Divas - animals Happy Little Stampers - anything goes with dies

Dynamic Duos combined with CAS Colours and Sketches

I am getting the hang of combining challenges....not sure if that's good or bad... In the past I would just put all my "creative energy" into one challenge and then just link up with others, if the card just happened to fit...but now I do that on purpose. Well, I'll see how it goes....                           Anyhow here is the card that came out of this: I did not want to add a sentiment - I 'll add it later, when I know who will get it. And here is a close -up: Challenges: Dynamic Duos CAS Colours and Sketches Addicted to Stamps and More Amusing Challenges Materials: Papertrey Background Basics: Super Stripes, Memory Box Chloe Stem die. --X-- Card for Maddy: You may know already about  Maddy ,  who  was diagnosed with Acute Myeloid Leukemia and went through chemotherapy treatment followed by a stem cell transplant from her (then) fifteen year old sister Melanie.  She now has a relapse and this car

Mirror Image Stamping with So Suzy and the MISTI

Hi Everyone, I am so happy to be part of this wonderful event - the collaboration between So Suzy and the MISTI from My Sweet Petunia doing mirror image stamping.  This event is going on for the ENTIRE  MONTH! We are demonstrating the  Mirror Image Stamp    which coordinates with the Misti Stamping Tool! All month long, different bloggers will post a card using the  Mirror Image Stamp .  In my tutorial today, I will show you how use the  Mirror Image Stamp  on your cards. You can basically double your stamp supplies that way! The  mirror image stamp  is  a 4.25" x 5.5" piece of red rubber with no foam backing. So much larger than the other mirror image stamps out there and therefore much more useful! Mirror Image stamp ,  Two Cats in a Tree If you want a video tutorial on how to do this I can highly recommend you watch THIS VIDEO on youtube. Explains it all in very little time! Or you can see the same thing on my photo tutorial. With mirror