
Spotlight on Water Color Emboss Resist with STAMPlorations!


Hi, Cornelia here today,

I want to share a water color emboss resist technique with you, using two of the sentiment builder sets - Thank You and Happy:


The technique I used varies a bit and I have a tutorial for you below.


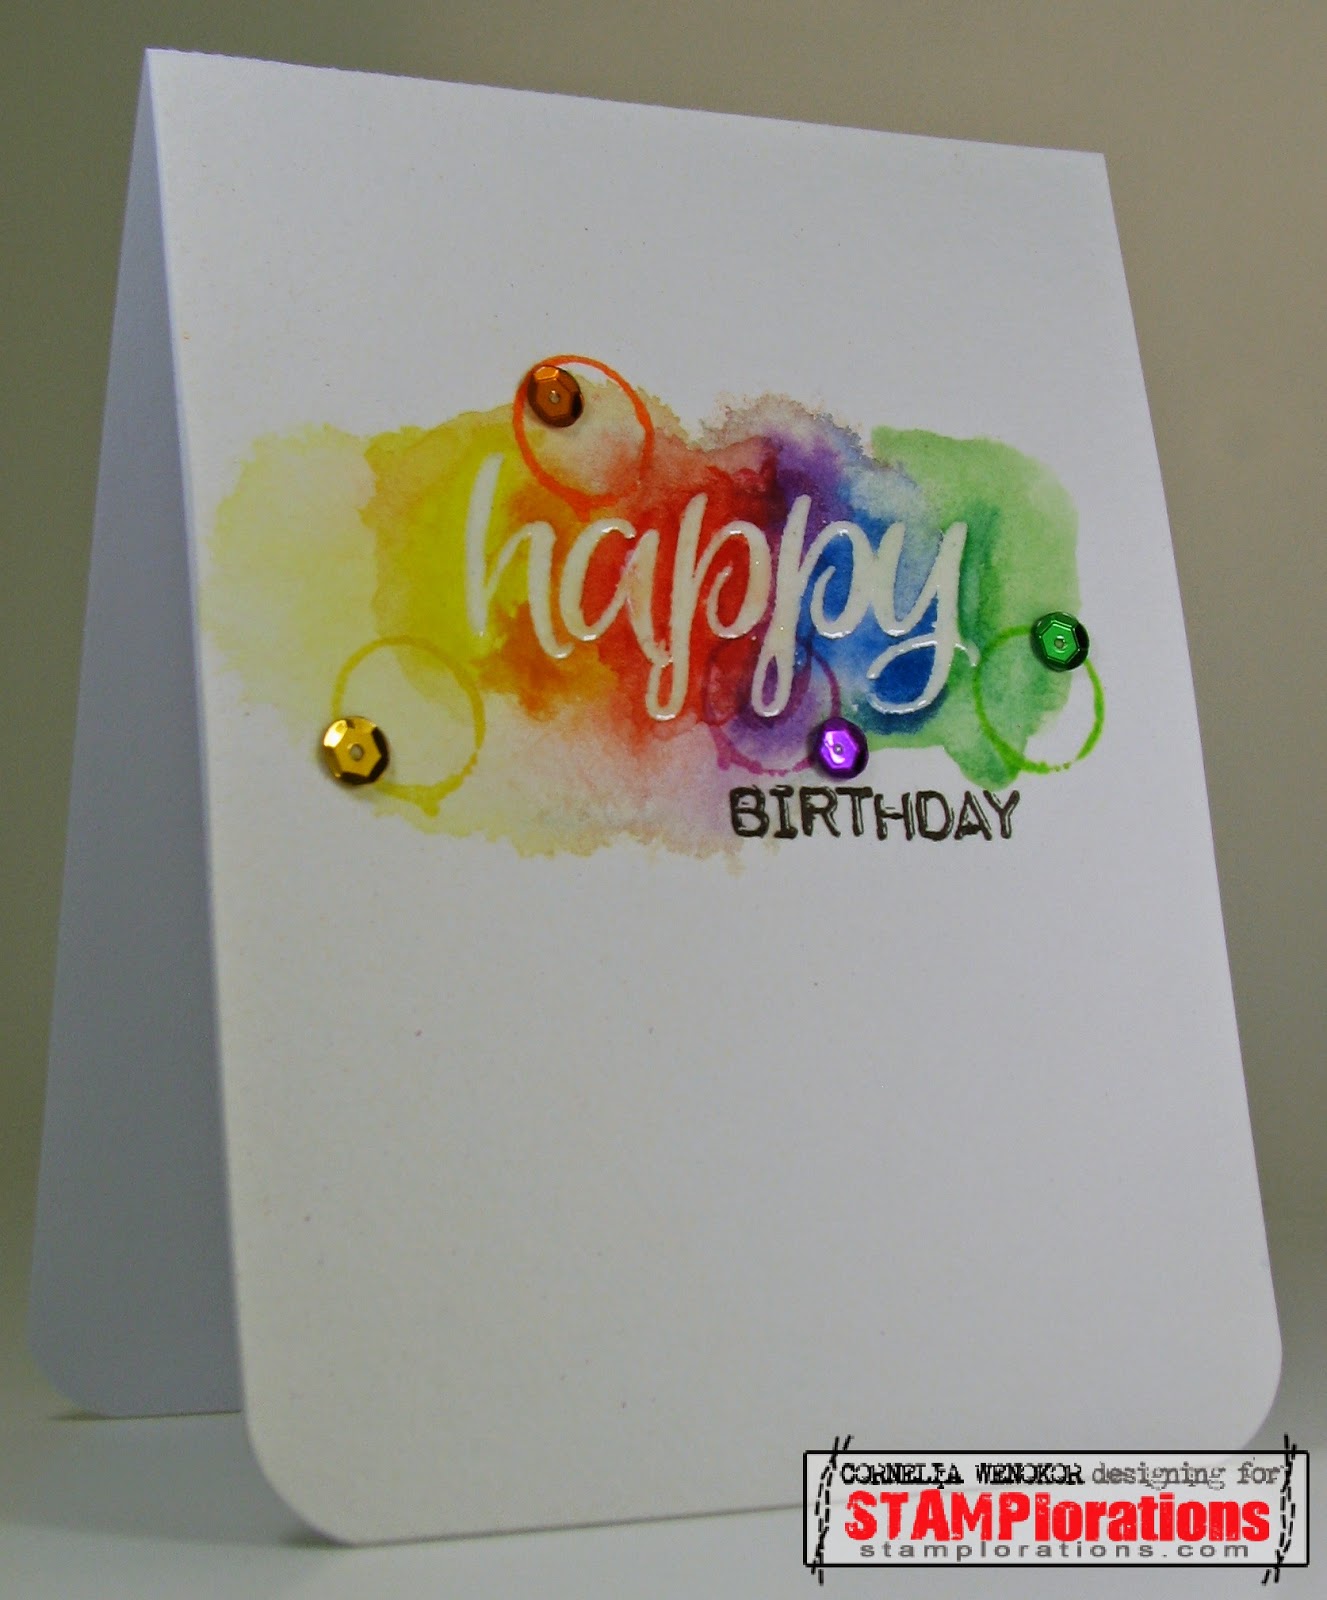
For the Happy Birthday card I also used those circles form the Holiday Artsy set and some sequins, as you can see.


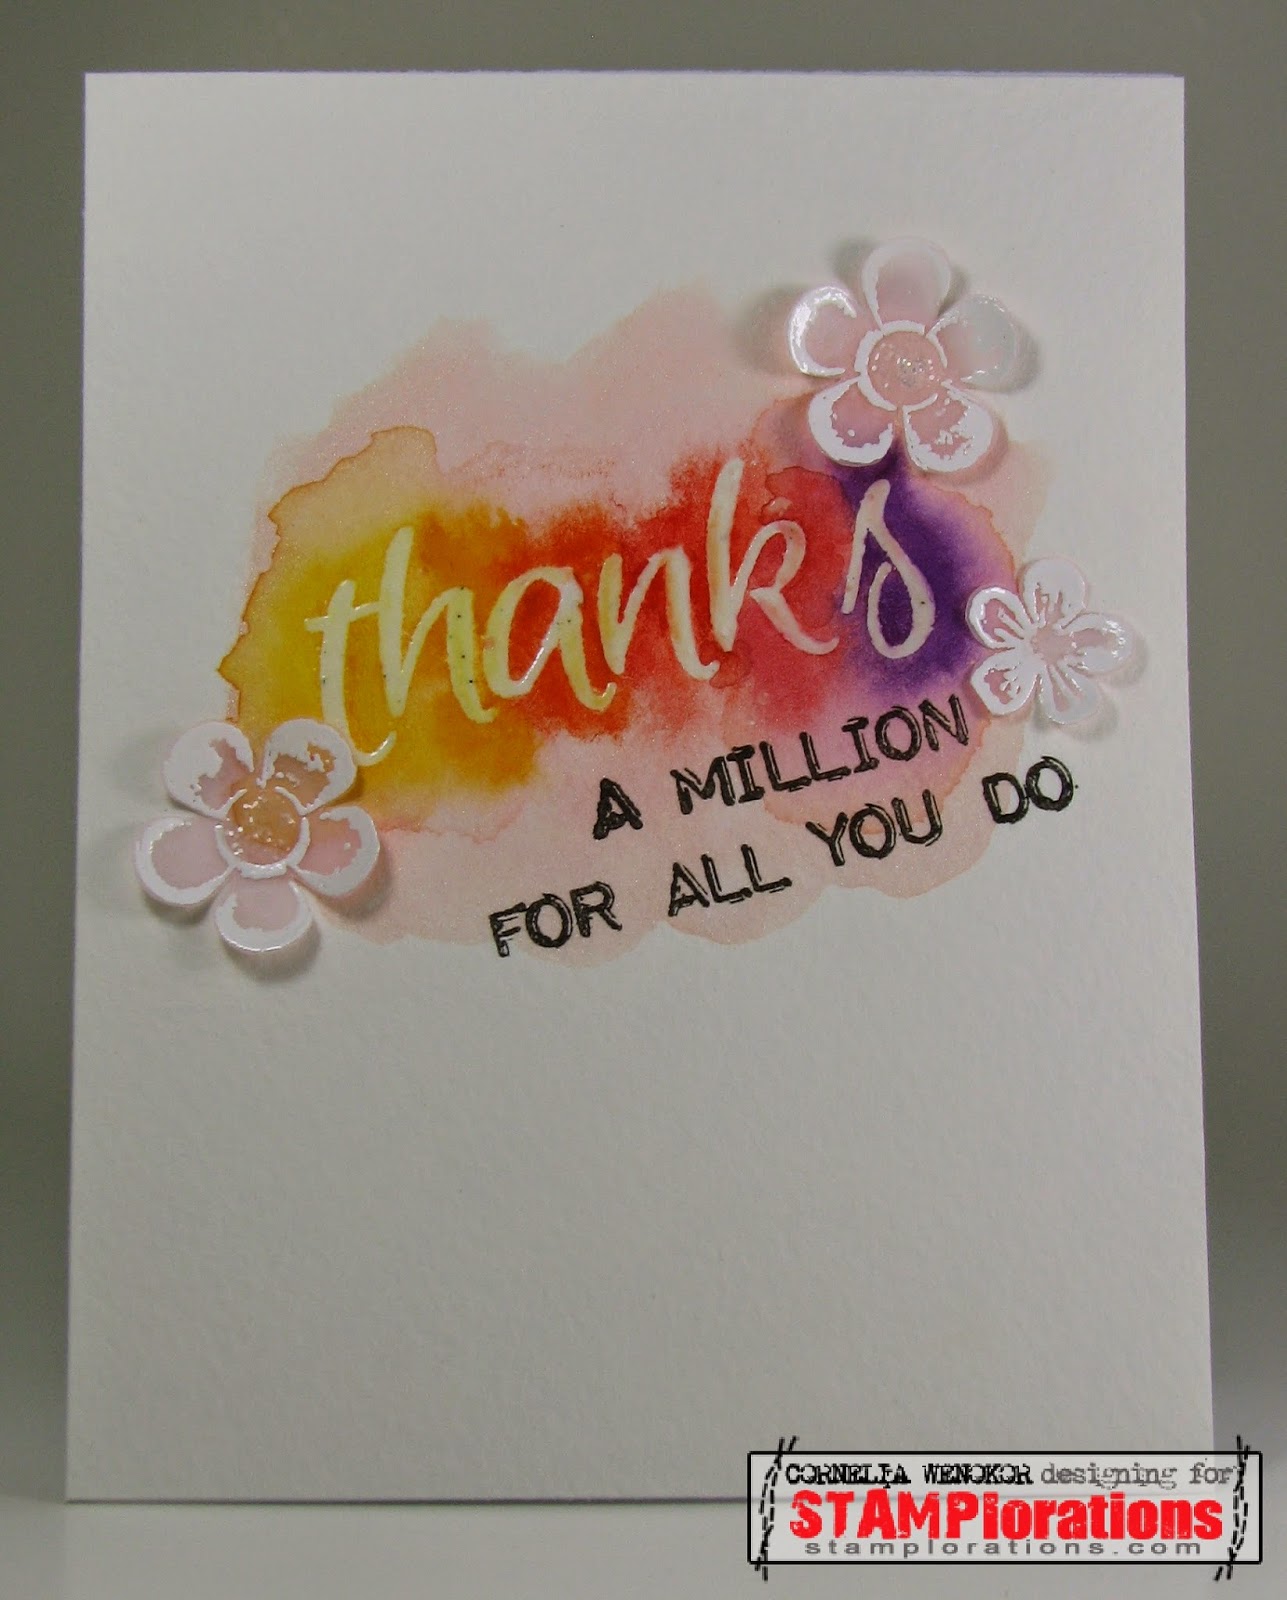
For the Thank You card I heat embossed oink vellum with that pretty little flower from the Vignette Eclectic Florals and added distress Stickles to the center.

I made a collage to not bore you with too many images....
You see my supplies - water color paper, Versamark, clear embossing powder and my ancient watercolors that I used when I was in school.....nothing fancy....

After clear embossing the sentiment I took a brush and applied some water color around the letters and misted them with water, using a mini mister. See fist picture in the second row. Added some more colors and misted again, as needed. Once I was done and the paper dried I cleaned off the embossed sentiment - middle image last row.


The Thank You card I made slightly differently. I clear embossed just like before, but I wet the paper, before applying my watercolors. 


You get a slightly different effect - a somewhat softer blend of colors. You also have to work quite fast - the paper dries very quickly......and then you get borders rather than a smooth blend of colors. I kind of like both effects - depends on the card you want to make. And the overall feel of the card can be influenced with different tyes of embellishments. 


So here they are next to each other and you can compare - which one is your favorite?

And if you click HERE it will take you to the STAMPlorations blog.
I am also linking up the birthday card with Seize the Birthday - anything Birthday

 Just to let you know - I am still on vacation and I won't be able to comment. But I still will enjoy reading yours and I sure will catch up with you once I'll be back home again. 

Have a great day and thank you for visiting!

Comments

MRS DUCK said…
Hi Cornelia
Love the technique. Amazing results and love both cards.
Best wishes.
Ang x
Mrs A. said…
I like both of these techniques and both of your cards look stunning. I'm seeing sequins used a lot on cards . I have 3 bags of assorted ones so must get in on this trend and start using them myself. Hugs Mrs A.
Deepti said…
Gorgeous creation !! The water colors look amazing:)
hellerlittle said…
Mir gefallen beide Arten, je nachdem welchen Effekt man erzielen will. Bei Happy ist es ja mehr gewollt das "schärfere" Konturen da sind als bei Thanks... da wird eben alles ein wenig weicher.
Auf jeden Fall ist die Wirkung immer besonders
LG hellerlittle
Anita in France said…
They're both fabulous, Cornelia, so I couldn't pick a fave! Just love the rainbow colours and the delicate detailing on each! Anita :)
Flo said…
Uiuiui!!! Das sieht aber nach viel Arbeit aus und sehr schön. Danke für die Tipps.
LG Flo
Susie W. said…
Great cards! Aren't watercolors fun?!?
Thank you for joining us at Seize The Birthday. :)
Anonymous said…
I like both a lot, maybe the happy a little more then the other.
Thank you for sharing!

Debbie / Daqa
Monika Reeck said…
Dear Cornelia it was long time ago I visiting you...we were an der ost see aber zu kalt also ich freue mich wieder zu Hause...may I tell you I love love the effect you made AWESOME I will try this...great card my friend..hugs, Monika
shirley-bee said…
Hey, Cornelia! You know I love these ;) Thanks for linking up to Seize The Birthday!

Popular posts from this blog

Mirror Image Stamping with So Suzy and the MISTI

Hi Everyone, I am so happy to be part of this wonderful event - the collaboration between So Suzy and the MISTI from My Sweet Petunia doing mirror image stamping.  This event is going on for the ENTIRE  MONTH! We are demonstrating the  Mirror Image Stamp    which coordinates with the Misti Stamping Tool! All month long, different bloggers will post a card using the  Mirror Image Stamp .  In my tutorial today, I will show you how use the  Mirror Image Stamp  on your cards. You can basically double your stamp supplies that way! The  mirror image stamp  is  a 4.25" x 5.5" piece of red rubber with no foam backing. So much larger than the other mirror image stamps out there and therefore much more useful! Mirror Image stamp ,  Two Cats in a Tree If you want a video tutorial on how to do this I can highly recommend you watch THIS VIDEO on youtube. Explains it all in very little time! Or you can see the...

Easter Egg and Bunny

Hi Everyone, I made a bunch of Easter cards, after all its little more than one month and I need to send them out in time... You see, they are all similar - using both the die cut and the negative, that I cut from a die cut egg. The cute bunnies got their yearly appearance - they are from Impression Obsession. the egg is by Lifestyle Crafts. The sentiment is by Papertrey. And here are bigger photos from this set: Linking up with Creative with Stamps - Easter The Paper Players - die cutting Die Cut Divas - animals Happy Little Stampers - anything goes with dies

Combined So Suzy and The Ton Blog Hop

Hi Everyone, I am sooooo excited to be part of this amazing event - a combined hop between So Suzy Stamps and The Ton! I have been eyeing The Ton stamps and dies for quite a while - they are just gorgeous! And So Suzy - well you have seen their stamps on my blog - they are simply fabulous! I also love that they are made from rubber - its different stamping with them. Its much better for generational stamping and they don't stick to your paper when you use your Misti. You may have arrived from the fabulous  Eunji - its a hard act to follow her.... I got those gorgeous  Peonies Dies  from The Ton and die cut them with water color paper. Spritzed Dylusion inks on a sheet of plastic and dipped the dies into the colors. Mounted them onto black card stock. Added the So Suzy Birthday sentiment - heat embossed in white. Lastly I added a strip of envelope liner paper at the bottom. Here are my supplies: So Suzy Birthday sentiment ,  Peo...