
Joyful Sponging


Hi, its Cornelia again
 with another sponged Christmas card and this wonderful stampset - Joyful


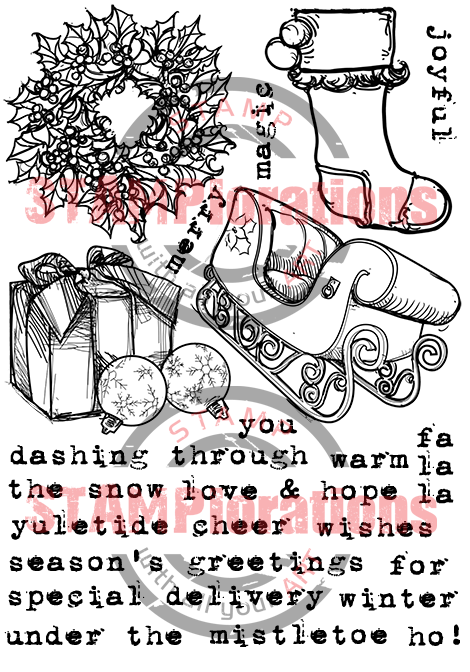
I stared out selecting some of the sentiments from the set and stamped a border with them. I also stamped the gift box and fuzzy cut it.


Used Copics to color the box


I then masked the side along the sentiment border


  and sponged it with distress inks.


Lastly I cut a thin strip of gold foil paper and glued it onto the sponged area.


I mounted the gift box with foam tape and added glossy accents to the ornaments.


Click HERE and it will take you to the STAMPlorations blog.

Happy Sponging!


Comments

joy said…
beautiful! I love the colors and the softness of the sponging, Cornelia!
Susanne Vargas said…
Great card! Love those gold accents!
Anita in France said…
Such a fabulous way to highlight the sentiments, Cornelia ... the sponged colours are gorgeous and I adore that fine gold strip! Anita :)
Kim M said…
This card is great! I love the words along the side and the colours you used. The added strip of gold really sets it off! I love that STAMPlorations set. It's on my wish list. :-)

Popular posts from this blog

Easter Egg and Bunny

Hi Everyone, I made a bunch of Easter cards, after all its little more than one month and I need to send them out in time... You see, they are all similar - using both the die cut and the negative, that I cut from a die cut egg. The cute bunnies got their yearly appearance - they are from Impression Obsession. the egg is by Lifestyle Crafts. The sentiment is by Papertrey. And here are bigger photos from this set: Linking up with Creative with Stamps - Easter The Paper Players - die cutting Die Cut Divas - animals Happy Little Stampers - anything goes with dies

STAMPlorations Coffee Mini Hop

Hi Everyone, I am so happy to be part of STAMPlorations mini hop  and Spring Lovers Coffee hop featuring Becca's awesome new set! I immediately fell in love with it! You probably have seen my other card I made with this set, if not, you can see it HERE . My supplies:    Bunnies'N Beans , Latte stencil I sponged the ARTplorations stencil and colored the bunny with Copics and fuzzy cut him. Added Washi tape. The other new released set is: Always Tea Time Hop over to STAMPlorations to see some inspiration cards with both sets from your oh so talented DT group! And don't forget to leave a comment - one winner will get the bunnies, another winner will get tea time! The winners will be announced March 27! The sets are not discounted BUT we have a 15% off coupon code for everything in the store, including these stamps, and it's good until March 2 . Use code SPRINGCLBH Also linking up with: Simon Says Wednesday challenge

Mirror Image Stamping with So Suzy and the MISTI

Hi Everyone, I am so happy to be part of this wonderful event - the collaboration between So Suzy and the MISTI from My Sweet Petunia doing mirror image stamping.  This event is going on for the ENTIRE  MONTH! We are demonstrating the  Mirror Image Stamp    which coordinates with the Misti Stamping Tool! All month long, different bloggers will post a card using the  Mirror Image Stamp .  In my tutorial today, I will show you how use the  Mirror Image Stamp  on your cards. You can basically double your stamp supplies that way! The  mirror image stamp  is  a 4.25" x 5.5" piece of red rubber with no foam backing. So much larger than the other mirror image stamps out there and therefore much more useful! Mirror Image stamp ,  Two Cats in a Tree If you want a video tutorial on how to do this I can highly recommend you watch THIS VIDEO on youtube. Explains it all in very little time! Or you can see the same thing on my photo tutorial. With mirror